Launch to Amplify
Once your private repository holds the source code, the next step is getting the store live. This guide connects that GitHub repository to AWS Amplify so that each push to main builds and deploys on its own.
Connecting the repository also provisions the backend in your account: permissions, the database, and authentication. You do not need to set those up by hand first.
Connecting your GitHub repository
AWS Amplify hooks directly into your Git workflow.
| Step | Action | Description |
|---|---|---|
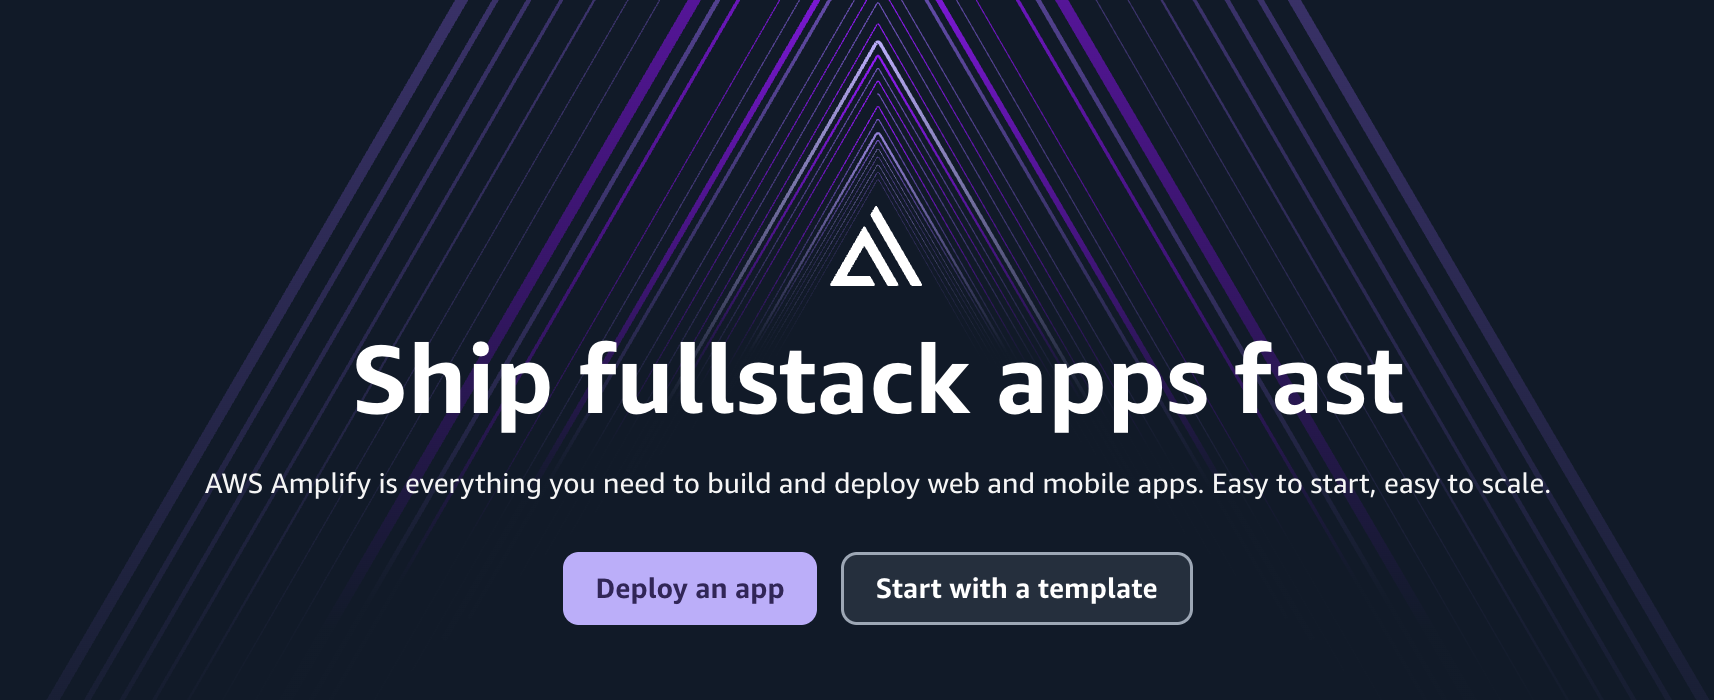
| 1 | Open the Amplify console | Sign in to the AWS Management Console, open AWS Amplify, and choose New app. On a new account, this button may say Deploy an app. |
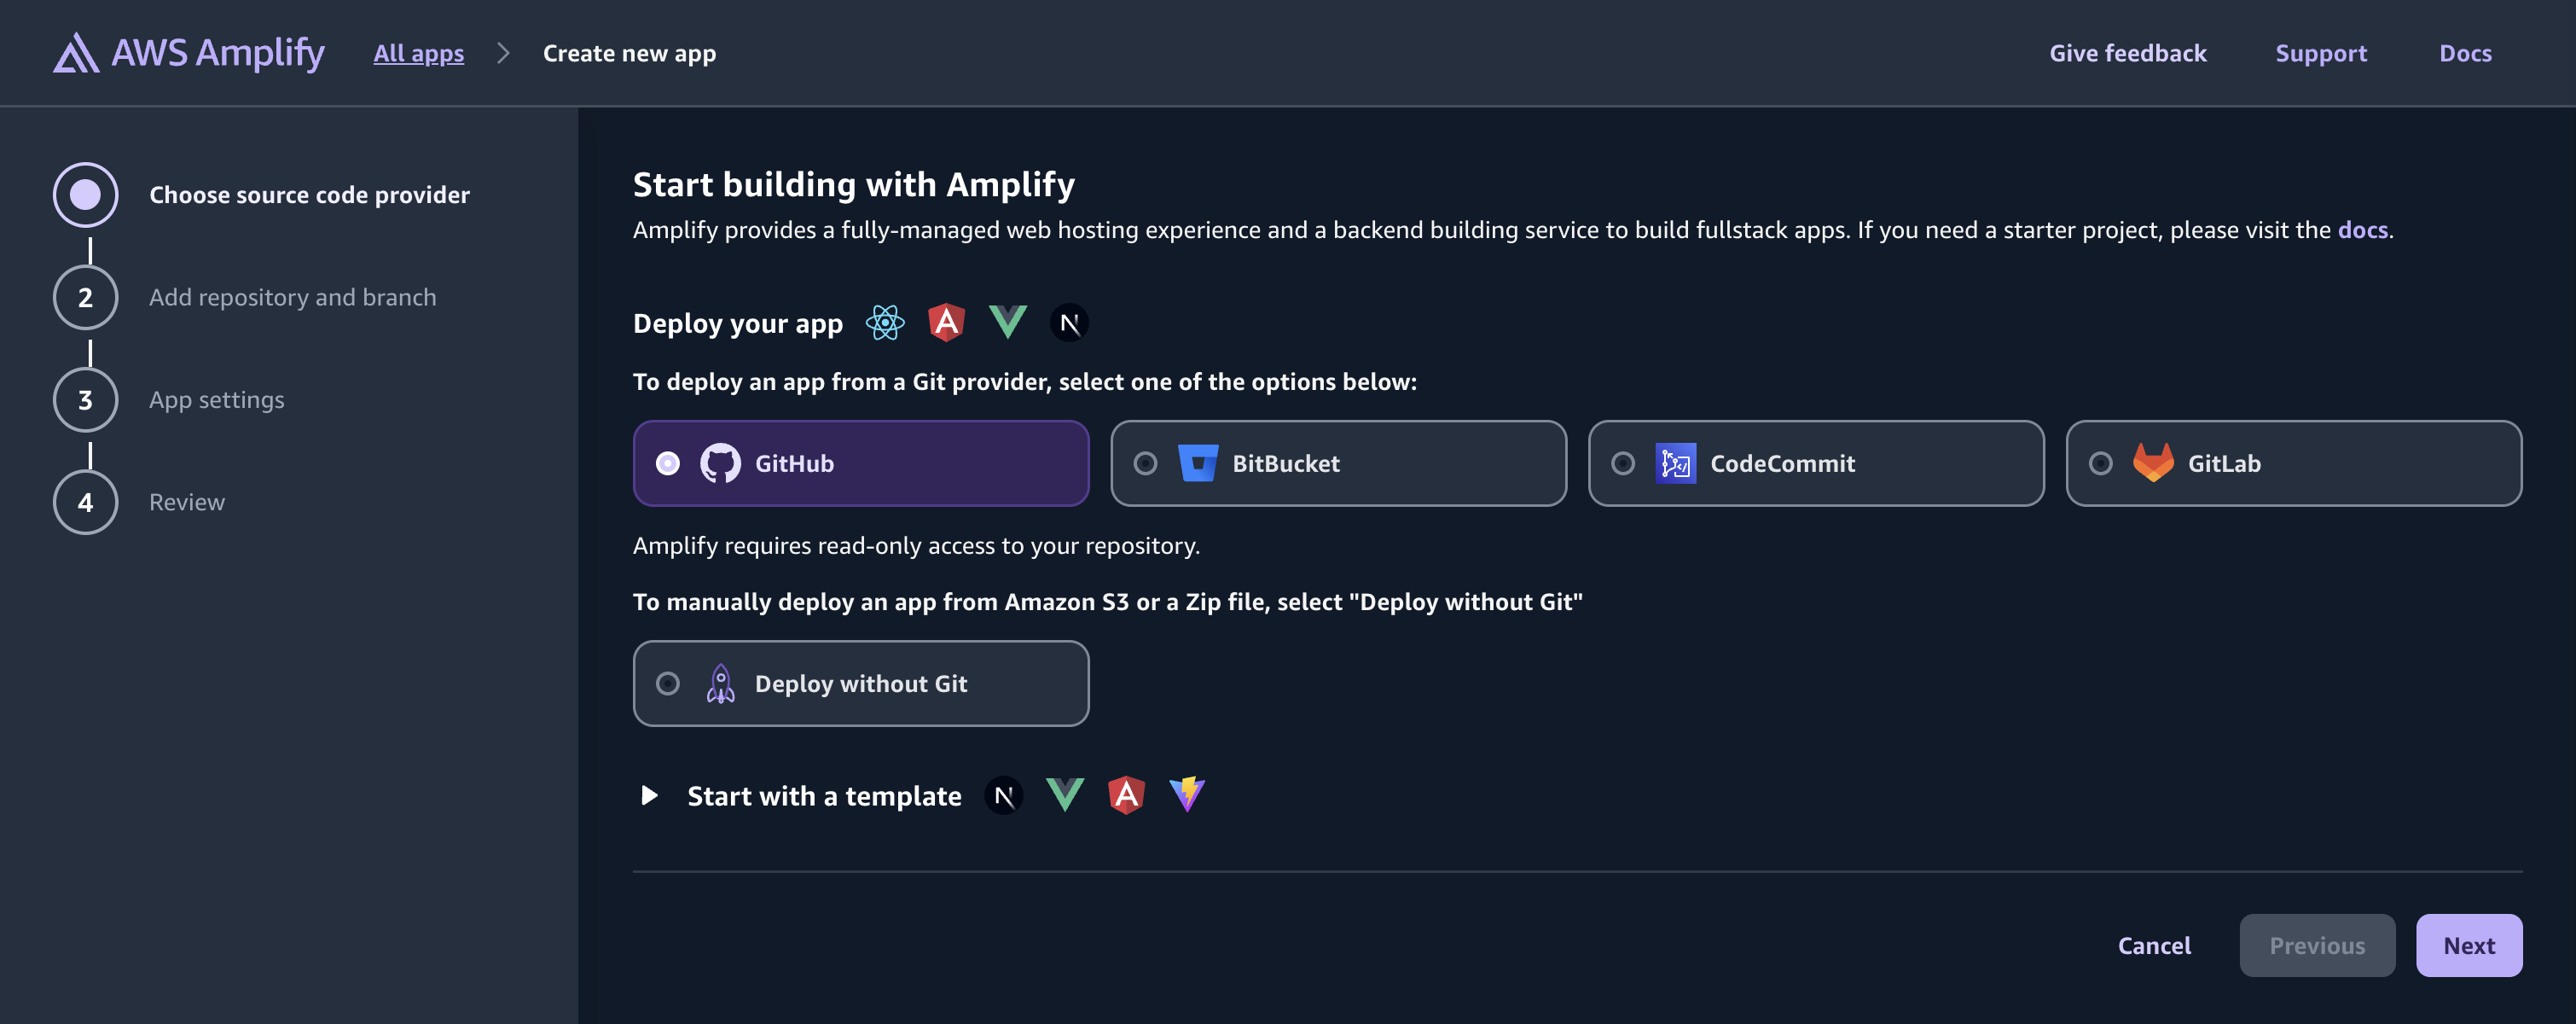
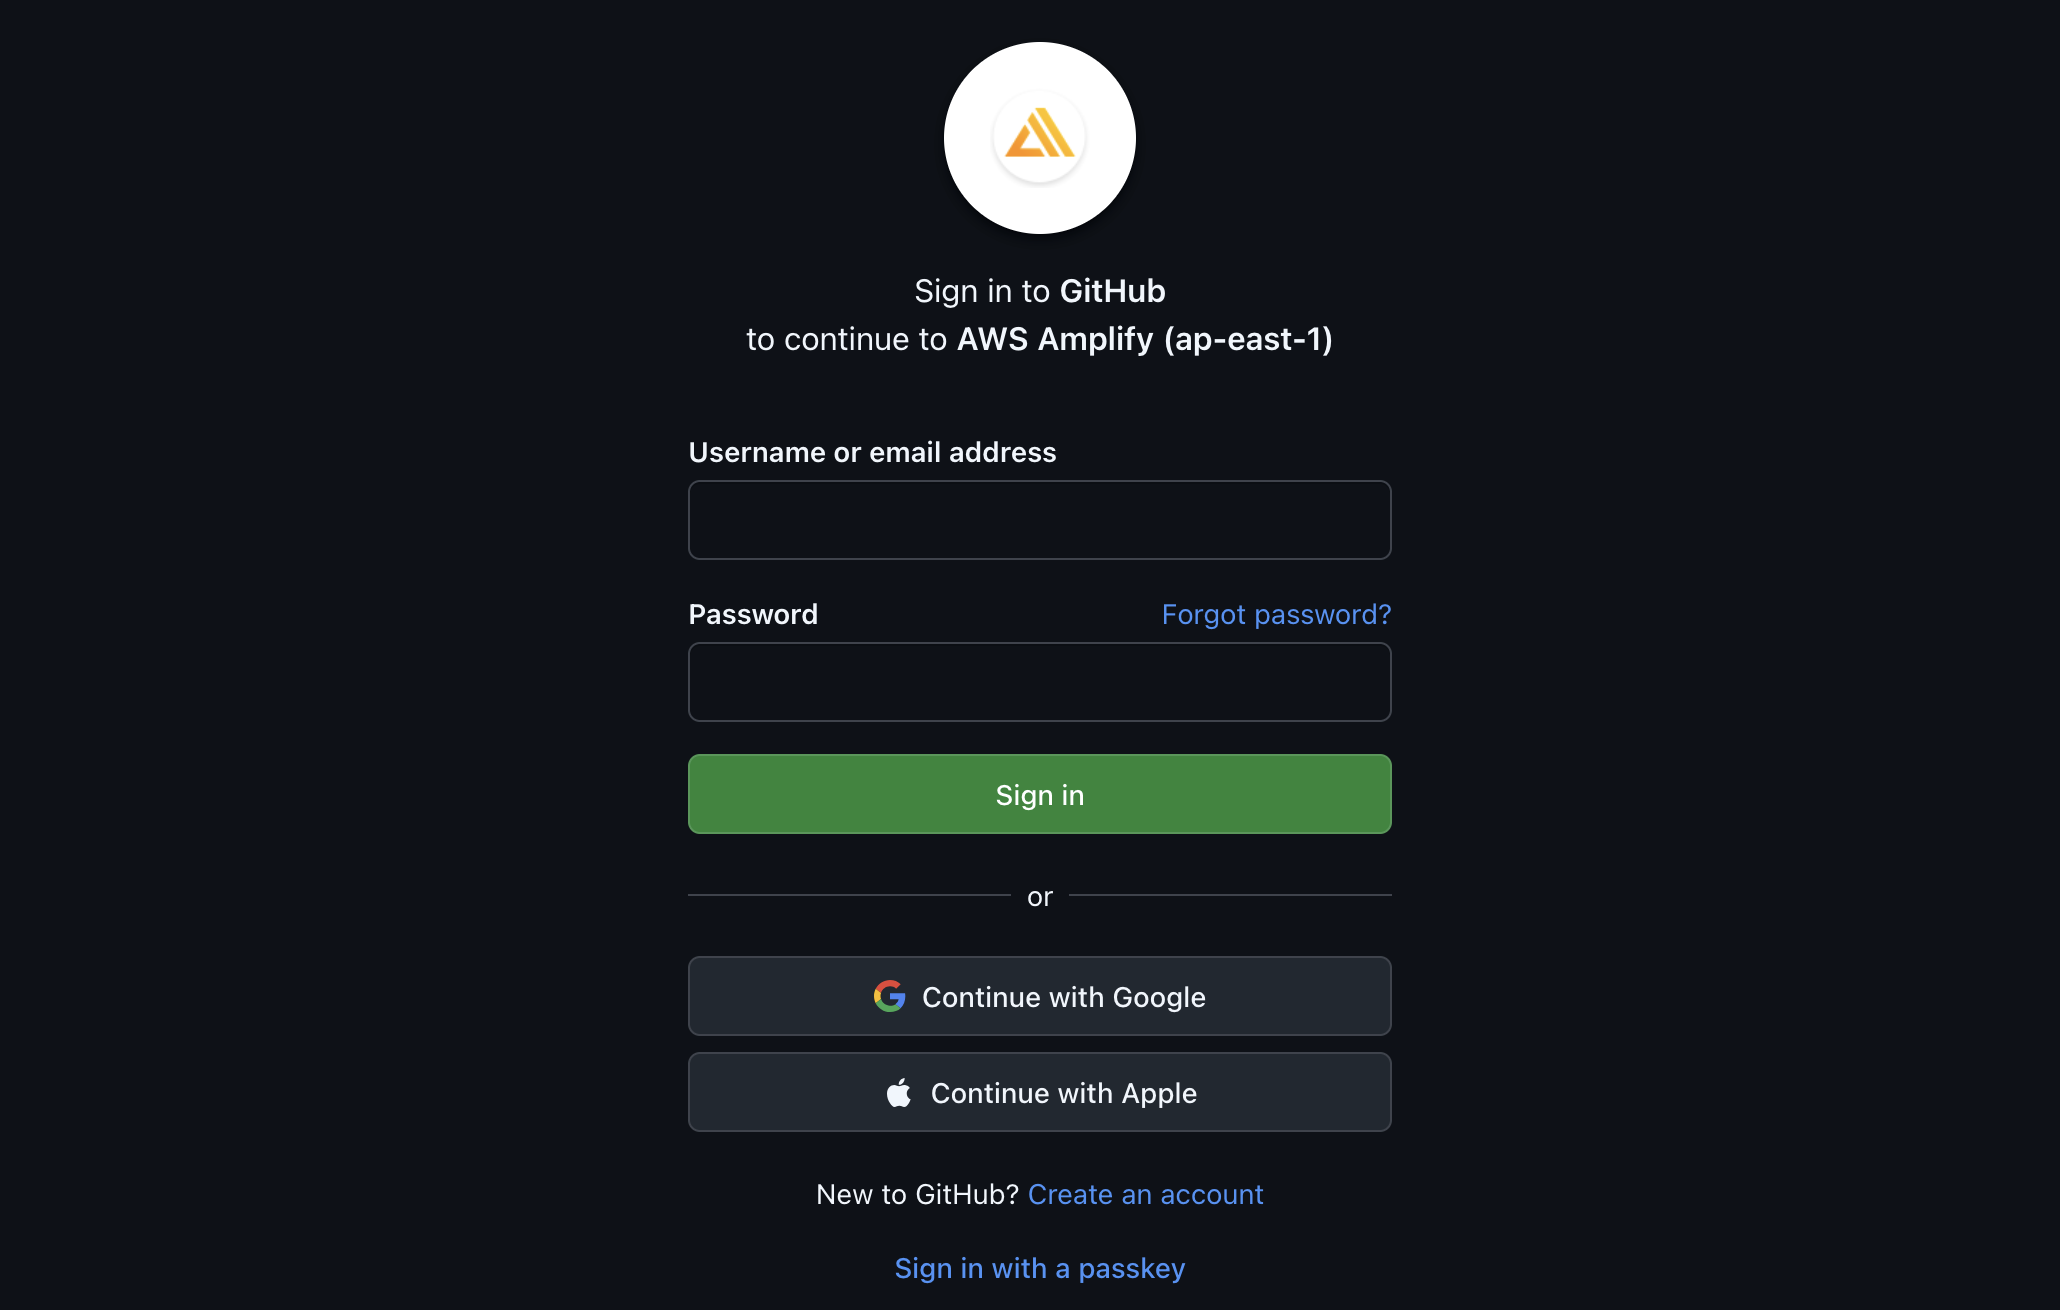
| 2 | Choose GitHub | Select Host web app, choose GitHub, and authorize Amplify to read your repository. You can limit that access to this repository only. |
| 3 | Select the branch | Pick your repository and the branch to track. Use main. |
For the GitHub authorization steps, see Setting up Amplify access to GitHub repositories.
For a visual walkthrough of connecting a repository and deploying from the console, watch Deploy Next.js with AWS Amplify Hosting.
Build settings
Amplify reads the amplify.yml already in the repository. That file deploys the backend, then runs the Next.js build. Review the settings Amplify shows, and leave them as they are.
You do not add environment variables before the first deploy. The build does not need payment keys, SMTP credentials, or other secrets at this stage. Website name, email, and payments are entered in the admin console after the store is up.
| Guide | What it covers |
|---|---|
| Setting up Amplify access to GitHub repositories | Installing the Amplify GitHub App and choosing which repositories Amplify can read. |
| Deploy a Next.js app to Amplify Hosting | The console path from repository and branch through build settings to deployment. |
Review and launch
Check the summary — app name, repository, and branch — then choose Save and deploy.
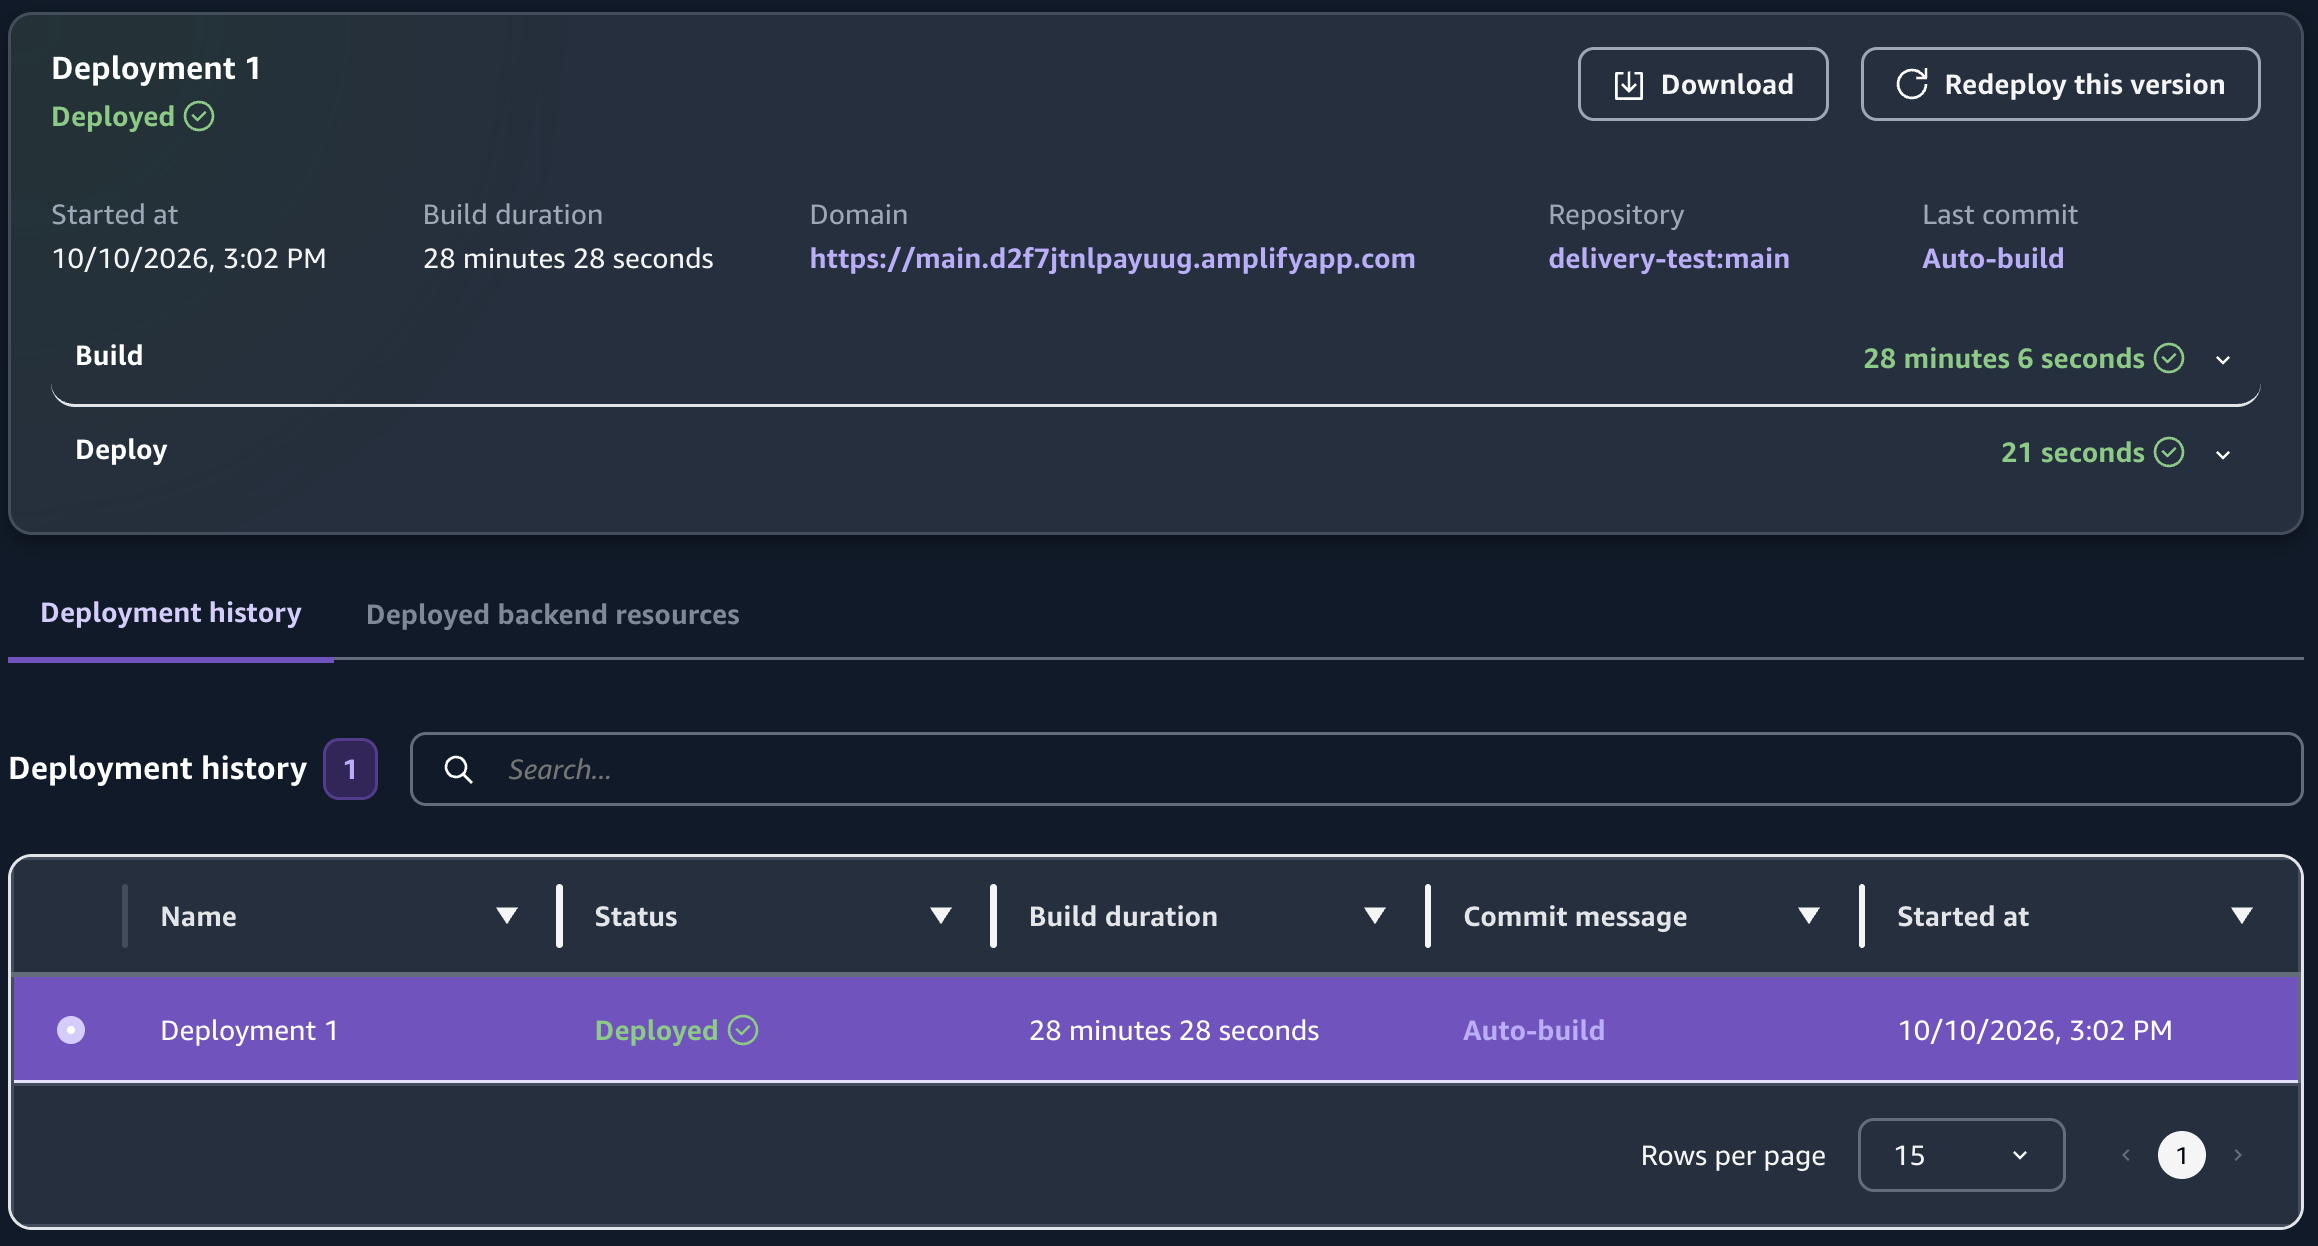
The first deploy provisions the backend in your account. The console shows Bootstrapping account while that runs. The production branch then stays on Deploying until the build finishes. When the deployment shows Deployed, the store is reachable on the default *.amplifyapp.com domain. Later pushes to main deploy the same way.


While a deployment is running, the Amplify console can show a notice that is not a failure of this kit. Those cases are in Troubleshooting.
Ready to proceed?
When the default domain is live, point your own domain at the store and decide whether to password-protect it while you finish setup: Custom domain and security.